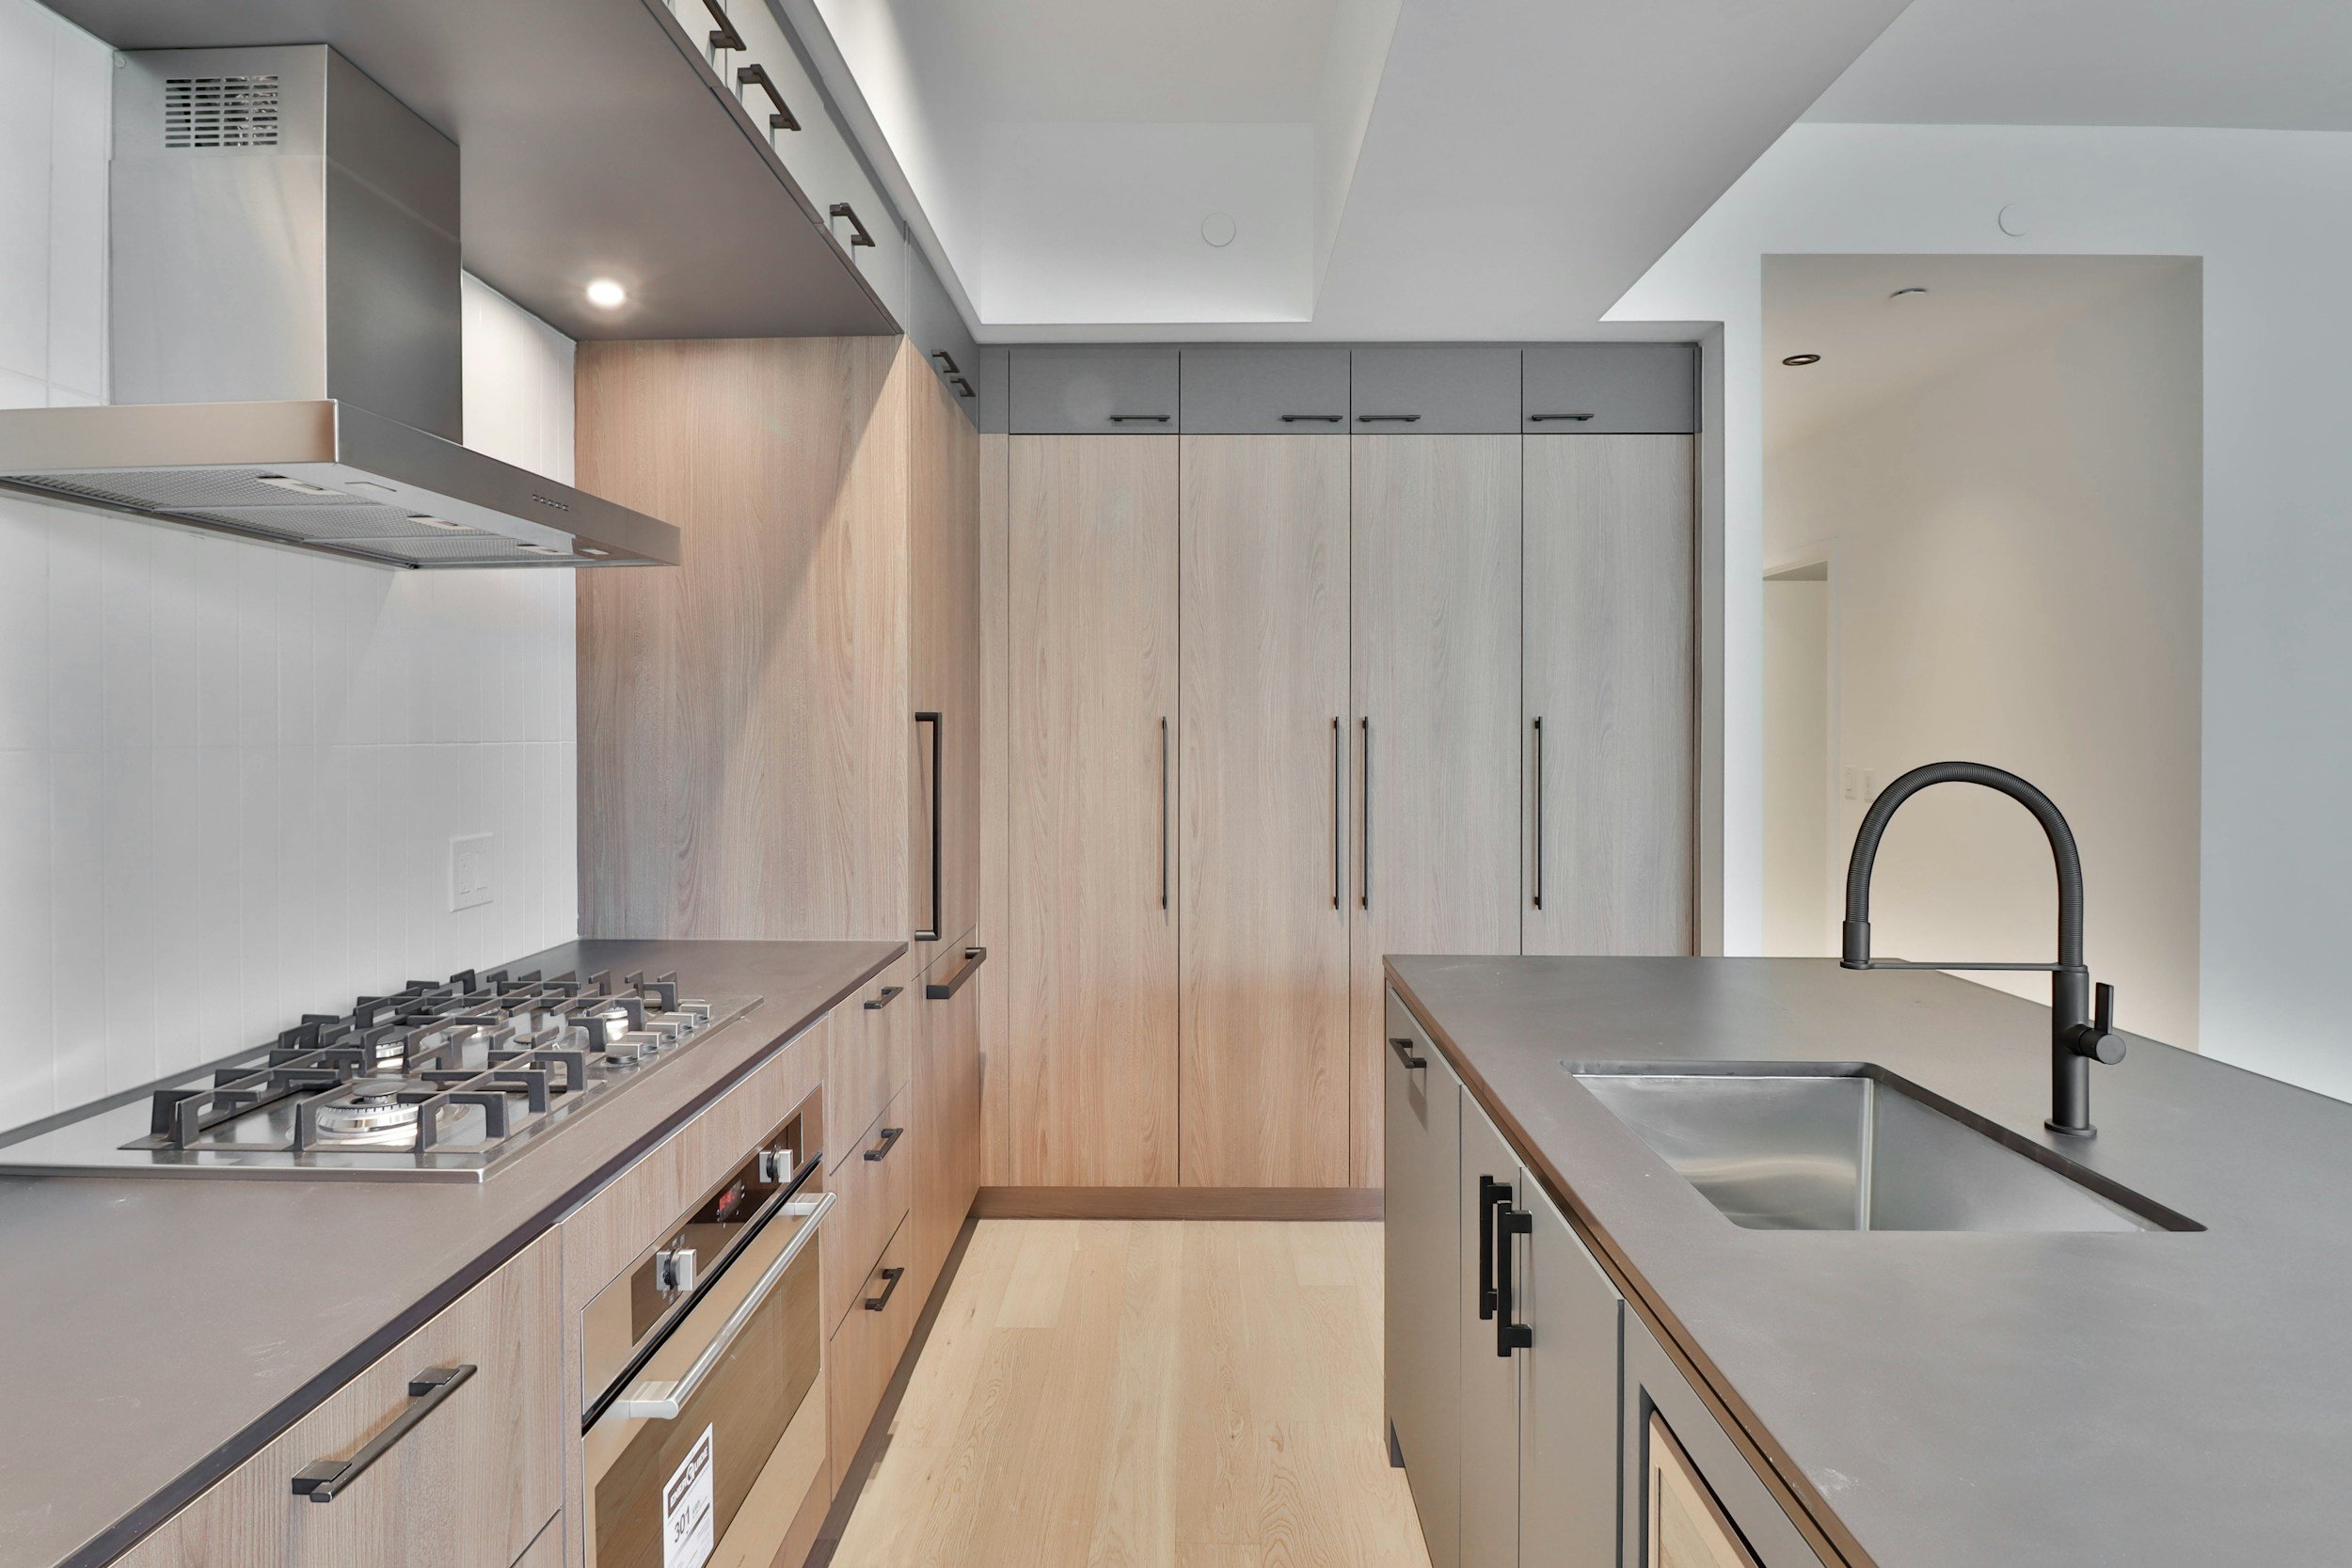
Perfect Precision Measuring Guide
Thank you for choosing Perfect Precision Home Designs. To ensure a flawless kitchen design, accurate measurements are crucial. Please follow the steps below to gather the necessary dimensions, enabling us to create a detailed 3D rendering and provide tailored cabinetry solutions for your space.
Tools You’ll Need:
Tape Measure (preferably a 25 ft. tape)
Pen & Paper (or a digital note-taking device)
Straight Edge (optional, but helpful for longer measurements)
Step 1: Draw Your Kitchen Layout
Start by drawing a simple floor plan of your kitchen. Label the walls and include key features like windows, doors, appliances, and plumbing. If you have existing cabinets, please mark their locations.
Step 2: Measure Wall Lengths
Measure the length of each wall where cabinets will be placed. Be sure to record the total length, and note any obstructions like windows, doors, or columns.
Wall Measurement Formula:
Measure wall-to-wall. Measure the length of each wall at its center, taking two measurements to ensure accuracy.For Windows/Doors:
Measure the width and height of each window and door. Make a note of the distance from the floor to the bottom of the window or door, and distance from adjacent walls.
Step 3: Measure Ceiling Height
Measure the height from the floor to the ceiling on each wall. This will allow us to determine the optimal cabinet size for your space, as well as the appropriate clearance between the bottom of the wall cabinets and the top of the base cabinets.
Step 4: Measure Depth of Existing Cabinets (if applicable)
If you are replacing or adjusting existing cabinetry:
Measure the depth from the front of the cabinet to the wall. Include the space between any countertop and the backsplash.
Measure the height of the existing cabinets from the floor to the bottom of the upper cabinets or to the top of the base cabinets.
Step 5: Measure Appliances and Fixtures
To ensure that your cabinetry fits around appliances and fixtures, measure the following:
Range/Stove:
Measure the width, height, and depth of your stove or range.Dishwasher:
Measure the width and height of your dishwasher. Be sure to account for clearance around the dishwasher.Refrigerator:
Measure the width, depth, and height of your refrigerator, including any protrusions (e.g., handles).Sink:
Measure the width, depth, and height of your sink. Also, note the distance to the edge of the countertop.Vent Hood (if applicable):
Measure the width, height, and depth of the range hood. Measure from the top of the range or cooktop to the bottom of the hood.
Step 6: Mark Electrical Outlets and Plumbing
Identify the locations of all electrical outlets, switches, and plumbing connections:
Electrical Outlets:
Measure the distance from the floor to the center of each outlet and switch. Note how far the outlets are from the corners or adjacent walls.Plumbing:
Measure the distance from the floor to the center of each water pipe or drain line. Include the distance to any appliances or fixtures that are connected to plumbing.
Step 7: Indicate Special Features (Optional)
If you have any special features like a kitchen island, open shelving, or custom features, please include them in your drawings. If applicable, measure:
Kitchen Island:
Measure the length and width of the island. Include the clearance around it (from cabinets or walls).Other Special Features:
Measure the size and placement of features like built-in coffee machines, microwaves, or pantries.
Step 8: Double-Check Your Measurements
After taking all your measurements, double-check them for accuracy. Small discrepancies can lead to design issues later. If possible, have someone else verify the measurements with you.
Step 9: Submit Your Measurements
Once you’ve completed the measuring process, please send us:
A copy of your floor plan, including all walls, windows, doors, appliances, and fixtures.
A list of all measurements, clearly labeled with the corresponding walls, appliances, and fixtures.
Photos of the space (optional, but helpful).
You can send your measurements and drawings via email or upload them to our website, and we’ll begin working on your custom kitchen design!
Additional Tips:
Take accurate, straight-line measurements and avoid measuring around corners or angles.
If your walls are not perfectly straight, take multiple measurements at different heights to account for any irregularities.
It’s always a good idea to measure twice before submitting the final numbers.
Need Help?
If you’re unsure about how to measure certain areas or need assistance during the process, please don’t hesitate to contact us. Our team is happy to walk you through the process and ensure everything is measured correctly.
By following this guide carefully, you’ll help us create a kitchen that’s perfectly tailored to your space. We look forward to designing your dream kitchen!


